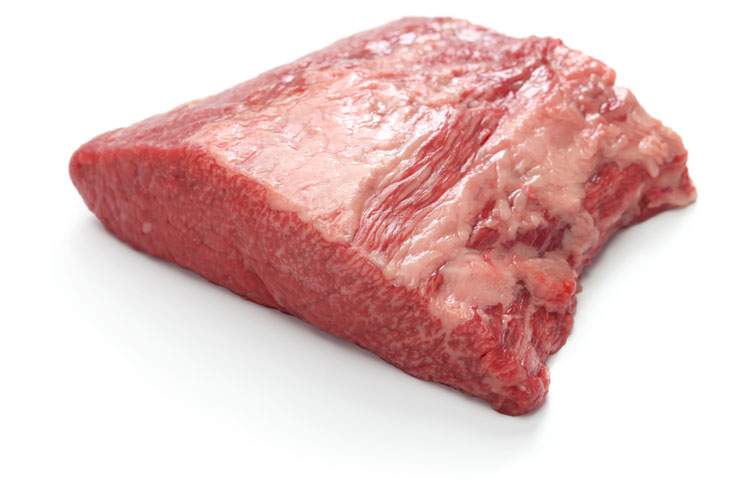
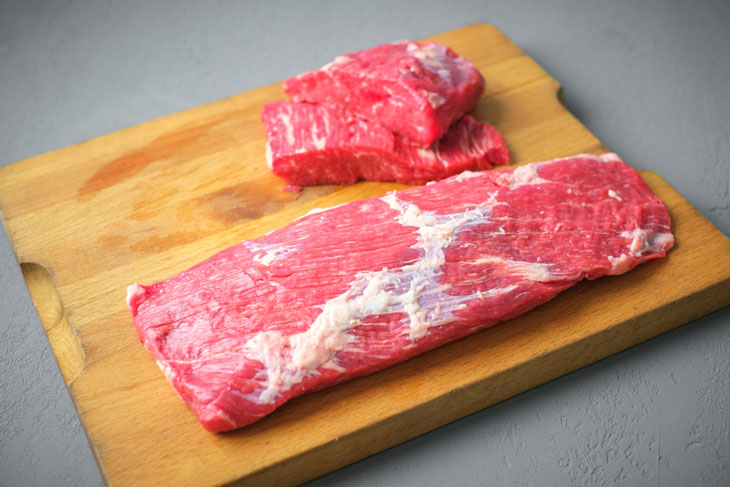
Brisket is a large, tough beef cut that comes from the breast of a cow. As a result, it is most often prepared using a slow cooking method like barbecuing, braising, or smoking. Unlike some other meat cuts, you need to cut away some parts of the brisket to maximize your flavor and cook it properly.
A good brisket does not come cheap, and it can be really big. Considering the cost and the labor invested required to cook it to perfection, trimming is a process you don’t want to do wrong.
The process of trimming, prepping, and smoking is long and detailed. In this article, we will break the process into easy steps, so you can perfectly trim your brisket before you cook it.
More...
First Things First, What is a Brisket?
According to the USDA Institutional Meat Purchasing Standard (IMPS), "Brisket includes the anterior end of the sternum bones".
There are two briskets on each side of beef. A butcher will usually subdivide the cut, before putting it up for sale. To get both sides, you will need to put in a special request for a “packer cut” or a “whole packer.”
A packer cut can weigh as much as 20 pounds, especially if it comes with a layer of fat and muscle, called a decker.
Anatomy of a Brisket
The cuts that can be made from a brisket primal are the “flat,” the “point” and the “fat cap.”
1. The Brisket Flat

The flat is the largest part of brisket and often comes in a rectangular shape. The brisket flat may come with decent marbling, but it is generally considered to be a lean meat cut.
2. The Brisket Point
The brisket point is smaller than the flat. It lurks on top or underneath (depending on the cut sitting) of the brisket flat. The point is always fatty, right throughout the cut, and protrudes at one end.
The brisket point is a mass of muscle and fat that links the brisket flat to the rib cage. This is sometimes known as the “second cut brisket.” The point is very fatty, as such, many people prefer the flat. However, the brisket point is tasty and delicious! It’s worth a try! The brisket point is also known as ‘the deckle.’
3. The Fat Cap
The fat cap is a thick layer of fat on an entire side of a meat cut. It runs the whole length of a brisket flat and often wraps around one side. It also sits between and separates the muscle in the two cuts, the flat and the points.
If you purchase a separate flat instead of a whole packer, it usually comes with the fat cap included, although some butchers cut the flat off before it hits the counter, especially for briskets sold at grocery stores.
What You Need to Get Started

A Little Consideration for the Sharp Knives
A long knife, about 6 to 8 inches, will work perfectly for removing pieces of fat that run the length of the meat surface. When you need to excavate fat in crevices, use a paring knife.
Aaron Franklin uses a thin boning knife which aids great maneuverability. Whatever your choice of knives, make sure it’s sharp. A dull knife will increase the risk of injury, as you will be cutting through tough meat.
How to Trim a Brisket
Now that you have bought your brisket from the butcher or store, and ready to prep it for the smoker, the following step by step instructions will help you understand the process.
Read more —
Conclusion
Now that you are done trimming, you should have a rectangular or square, and the point should be having uniform thickness with the flat since you have carved out the tough fat membranes. Remember to flip the brisket over as described in step 8, and remove any fat chunks you might have missed. Cut through the layers of meat to remove all the fats.
Finally, cut off any bits of meat hanging outside the rectangular or square shape, because they could burn during smoking. And that’s that. Congratulations! You have just trimmed a brisket.
If you want to share your experiences about trimming a brisket, please use the comment box below.
